Hey guys, I got the Argon ONE V5 case and OLED module today and had similar thoughts to OP (I also use the NVMe add-on but this just works straight out of the box). I got this working by using the Argon ONE Control add-on and Docker (add-on) with Python to run a script, where the I2C of the RPi5 is passed through to the Docker container (uses luma.oled).
1) Install Argon ONE Control add-on (enables I2C, fan, power button, temp controls)
In Kodi:
- Add-ons → Install from repository → LibreELEC Add-ons → Program add-ons → Argon ONE Control → Install
- Reboot to complete install
2) Verify I2C is enabled and can see the OLED module
SSH into LibreELEC and then run:
You should see the OLED module at 0x3C
3) Install Docker Kodi add-on
In Kodi: Add-ons → Install from repository → LibreELEC Add-ons → Services → Docker → Install
4) Create the OLED script
Create a directory for the script and then create oled_stats.py:
mkdir -p /storage/oled
nano /storage/oled/oled_stats.py
Paste and save this:
# /storage/oled/oled_stats.py
import time, psutil, socket
from datetime import datetime
from luma.core.interface.serial import i2c
from luma.oled.device import ssd1306 # change to sh1106 if your panel uses that controller from PIL import Image, ImageDraw, ImageFont
# I2C bus 1, common OLED address 0x3C (change to your I2C address if not 0x3C)
serial = i2c(port=1, address=0x3C)
device = ssd1306(serial, rotate=0)
font = ImageFont.load_default()
def get_ip():
# Works because the container uses --network host
s = socket.socket(socket.AF_INET, socket.SOCK_DGRAM)
try:
s.connect(("8.8.8.8", 80))
ip = s.getsockname()[0]
except Exception:
ip = "0.0.0.0"
finally:
s.close()
return ip
def read_temp():
with open('/sys/class/thermal/thermal_zone0/temp') as f:
return int(f.read()) / 1000.0
while True:
img = Image.new("1", device.size, 0)
draw = ImageDraw.Draw(img)
cpu = psutil.cpu_percent(interval=None)
mem = psutil.virtual_memory().percent
temp = read_temp()
ip = get_ip()
now = datetime.now().strftime("%H:%M:%S")
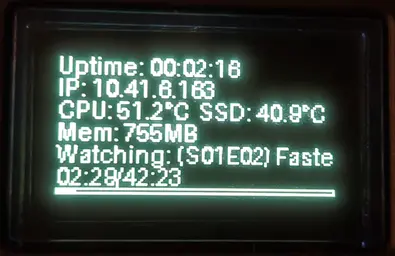
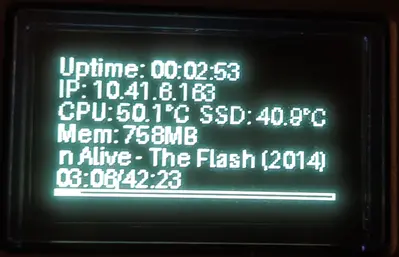
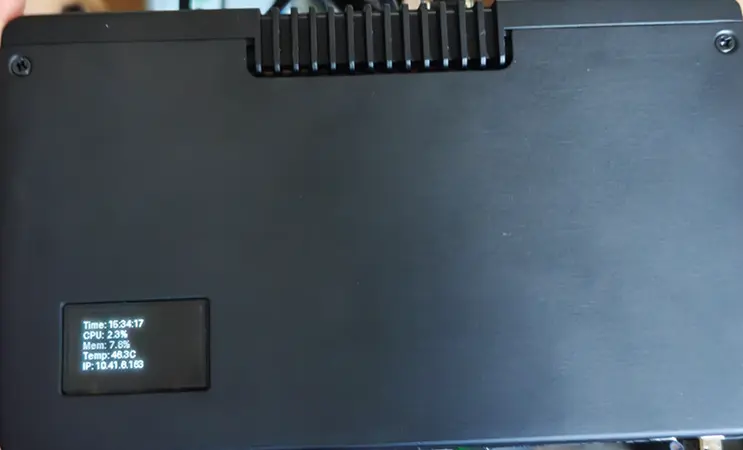
lines = [
f"Time: {now}",
f"CPU: {cpu:4.1f}%",
f"Mem: {mem:4.1f}%",
f"Temp: {temp:4.1f}C",
f"IP: {ip}",
]
y = 0
for line in lines:
draw.text((0, y), line, font=font, fill=255)
y += 12
device.display(img)
time.sleep(2)
Display More
5) Run the OLED container
Create and run the container by copying/pasting the below into your SSH session
docker run -d --name argon-oled \
  --restart=unless-stopped \
  --network host \
  --device /dev/i2c-1 \
  -v /storage/oled:/app \
  python:3.12-slim sh -c "
    apt-get update &&
    apt-get install -y --no-install-recommends libjpeg62-turbo-dev zlib1g-dev gcc python3-dev &&
    pip install --no-cache-dir pillow luma.oled psutil smbus2 &&
    python /app/oled_stats.py
  "
Display More
6) Interacting with the OLED container
- Container Logs: docker logs -f argon-oled
- Restart Container: docker restart argon-oled
- Stop/Start Container Manually: docker stop argon-oled / docker start argon-oled
- Remove Container: docker rm -f argon-oled
The --restart=unless-stopped flag makes the OLED container auto-start on every boot
The --network host flag is needed for the OLED screen to show the IP of the RPi5, and not the IP of the bridged docker network/container.
This is just very basic so I'm sure someone who actually knows what they're doing can create something more elegant.